


Your Custom Text Here
Paper Pulp Artistry is a technique that is done in stages. `
-This medium and technique are time consuming, and patience are a must when creating these pieces. Here is a step by step description of the process.
1-Scoop up the white pulp and put it in a blender.
2-Add some water and some powder dye. This will shred the fibers slightly and color the cotton fibers.
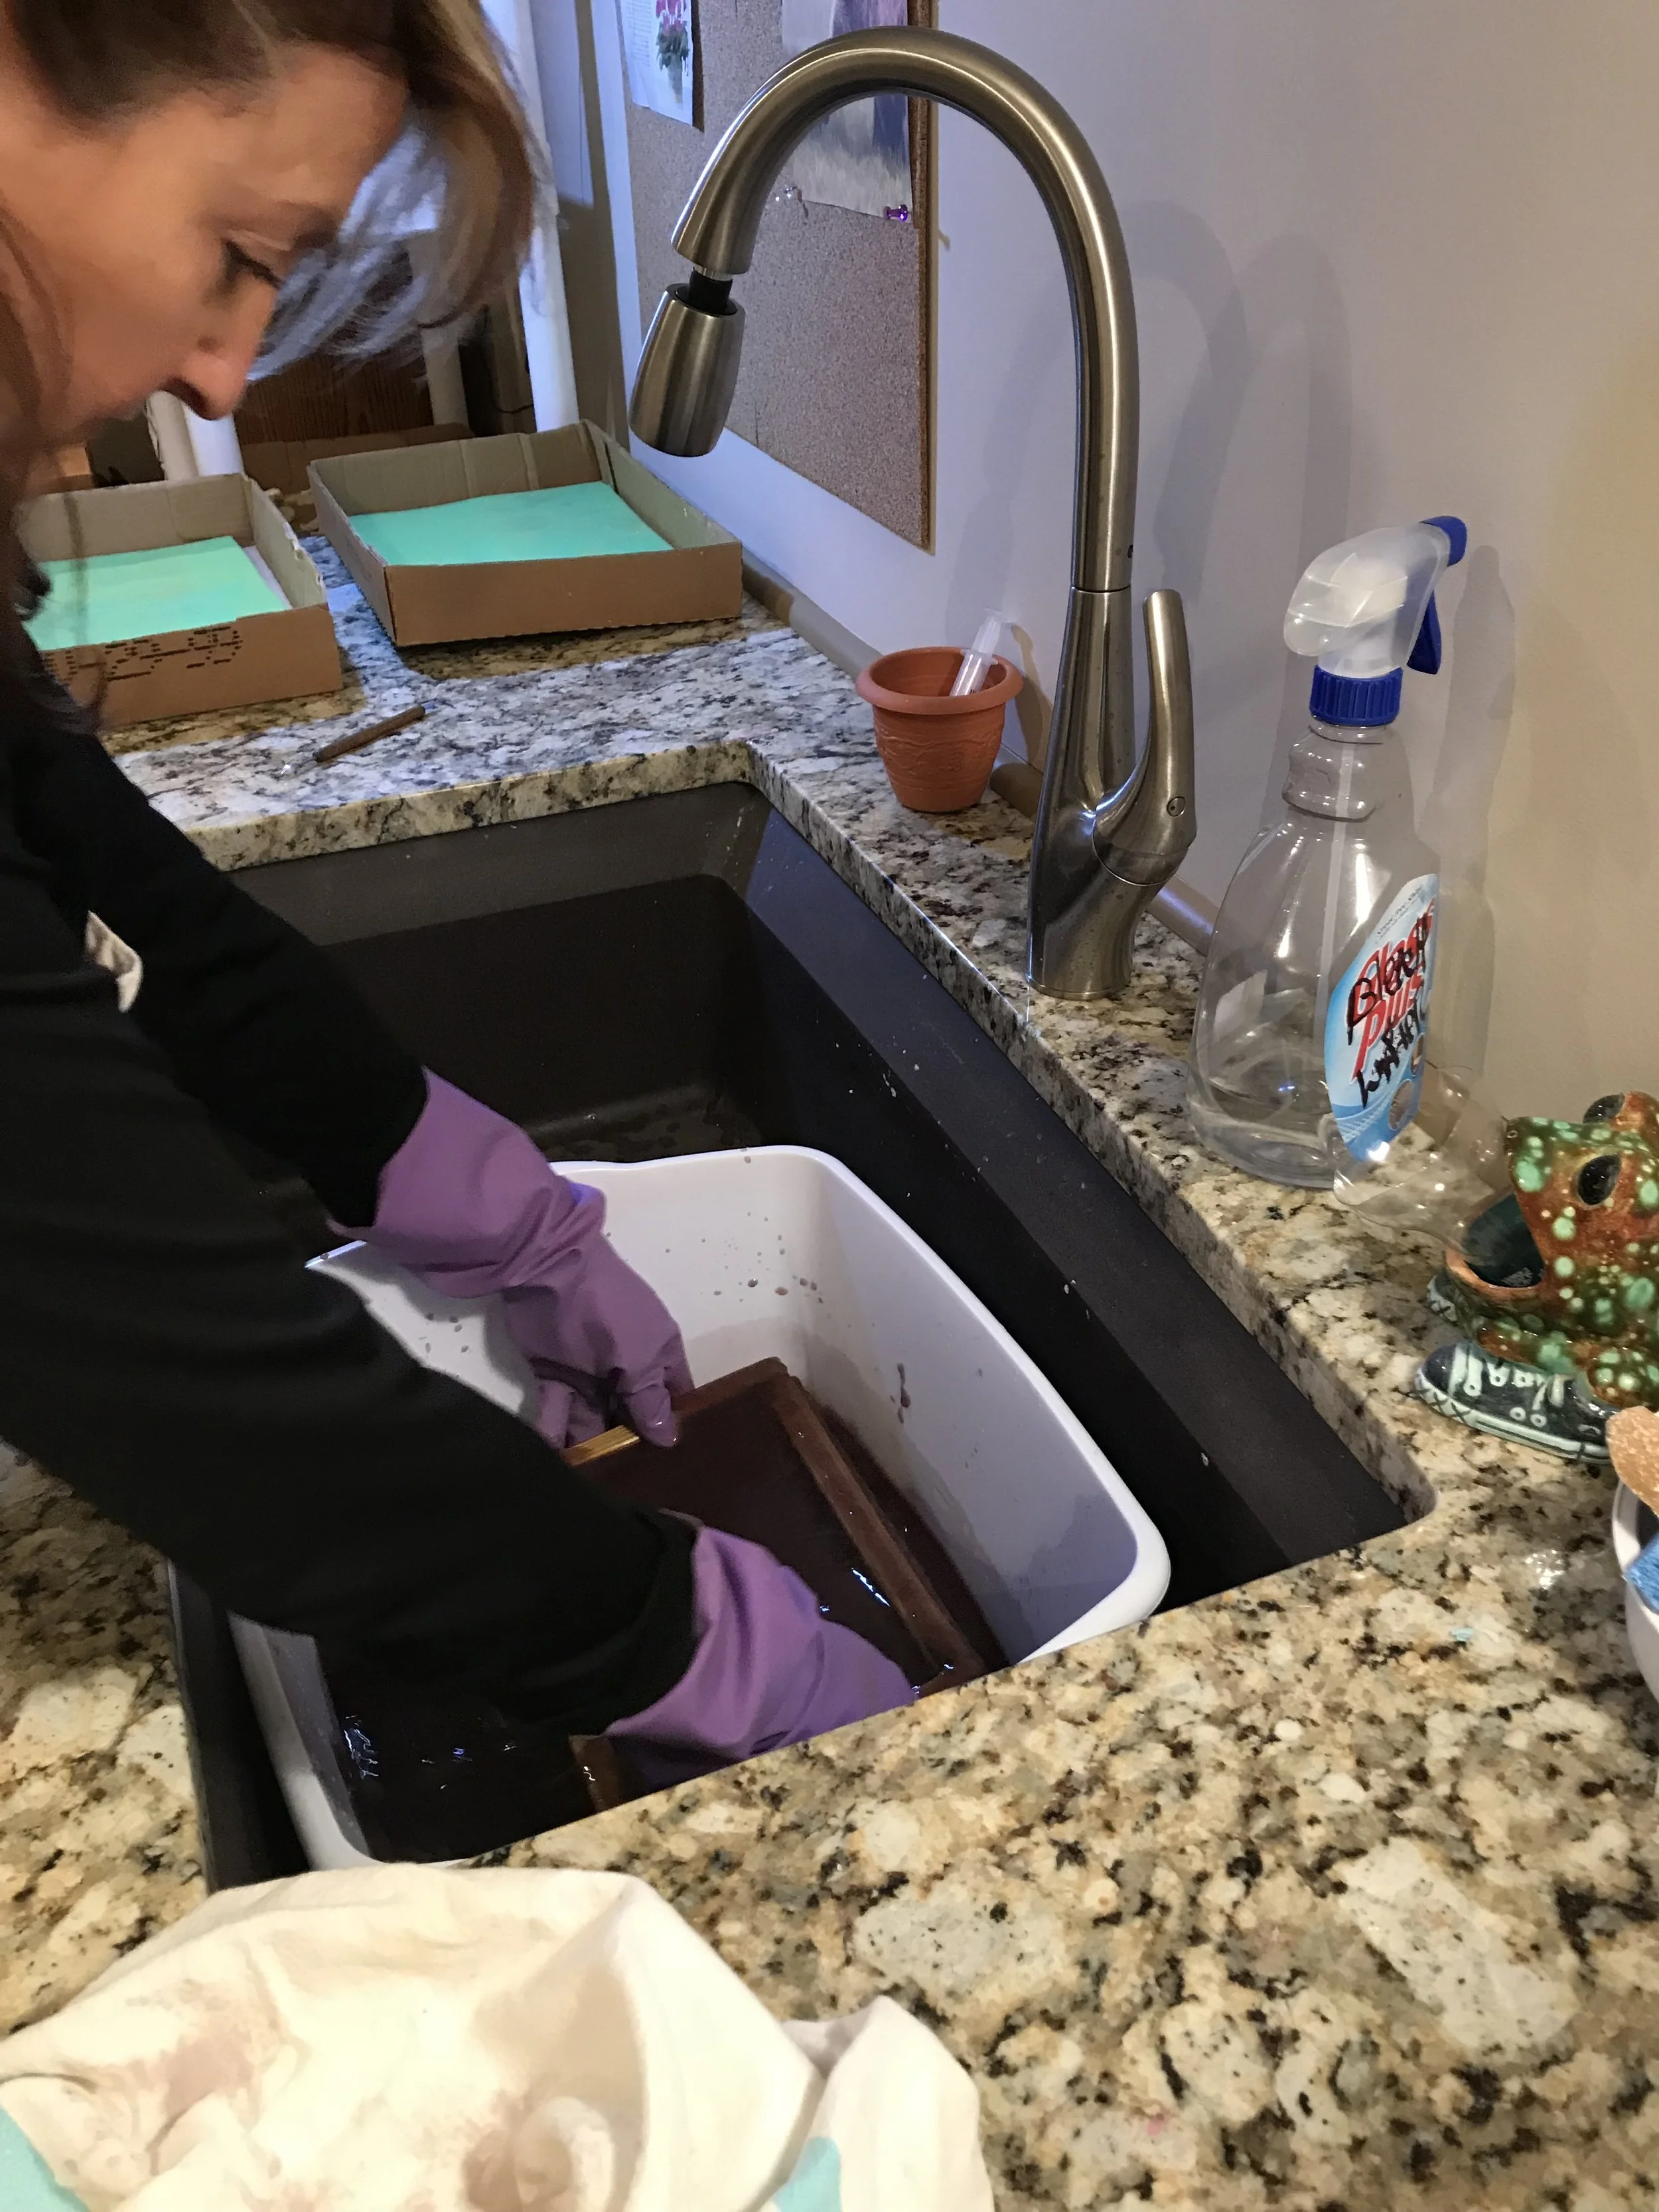
3-Pour it into a tub with additional water. Take a screen and dip it into the tub while making a circular motion. This will connect the fibers. using a sponge extract some of the water to help the fibers connect.
4-Flip the Paper pulp onto a felt pad and take a sponge to withdraw more of the water.
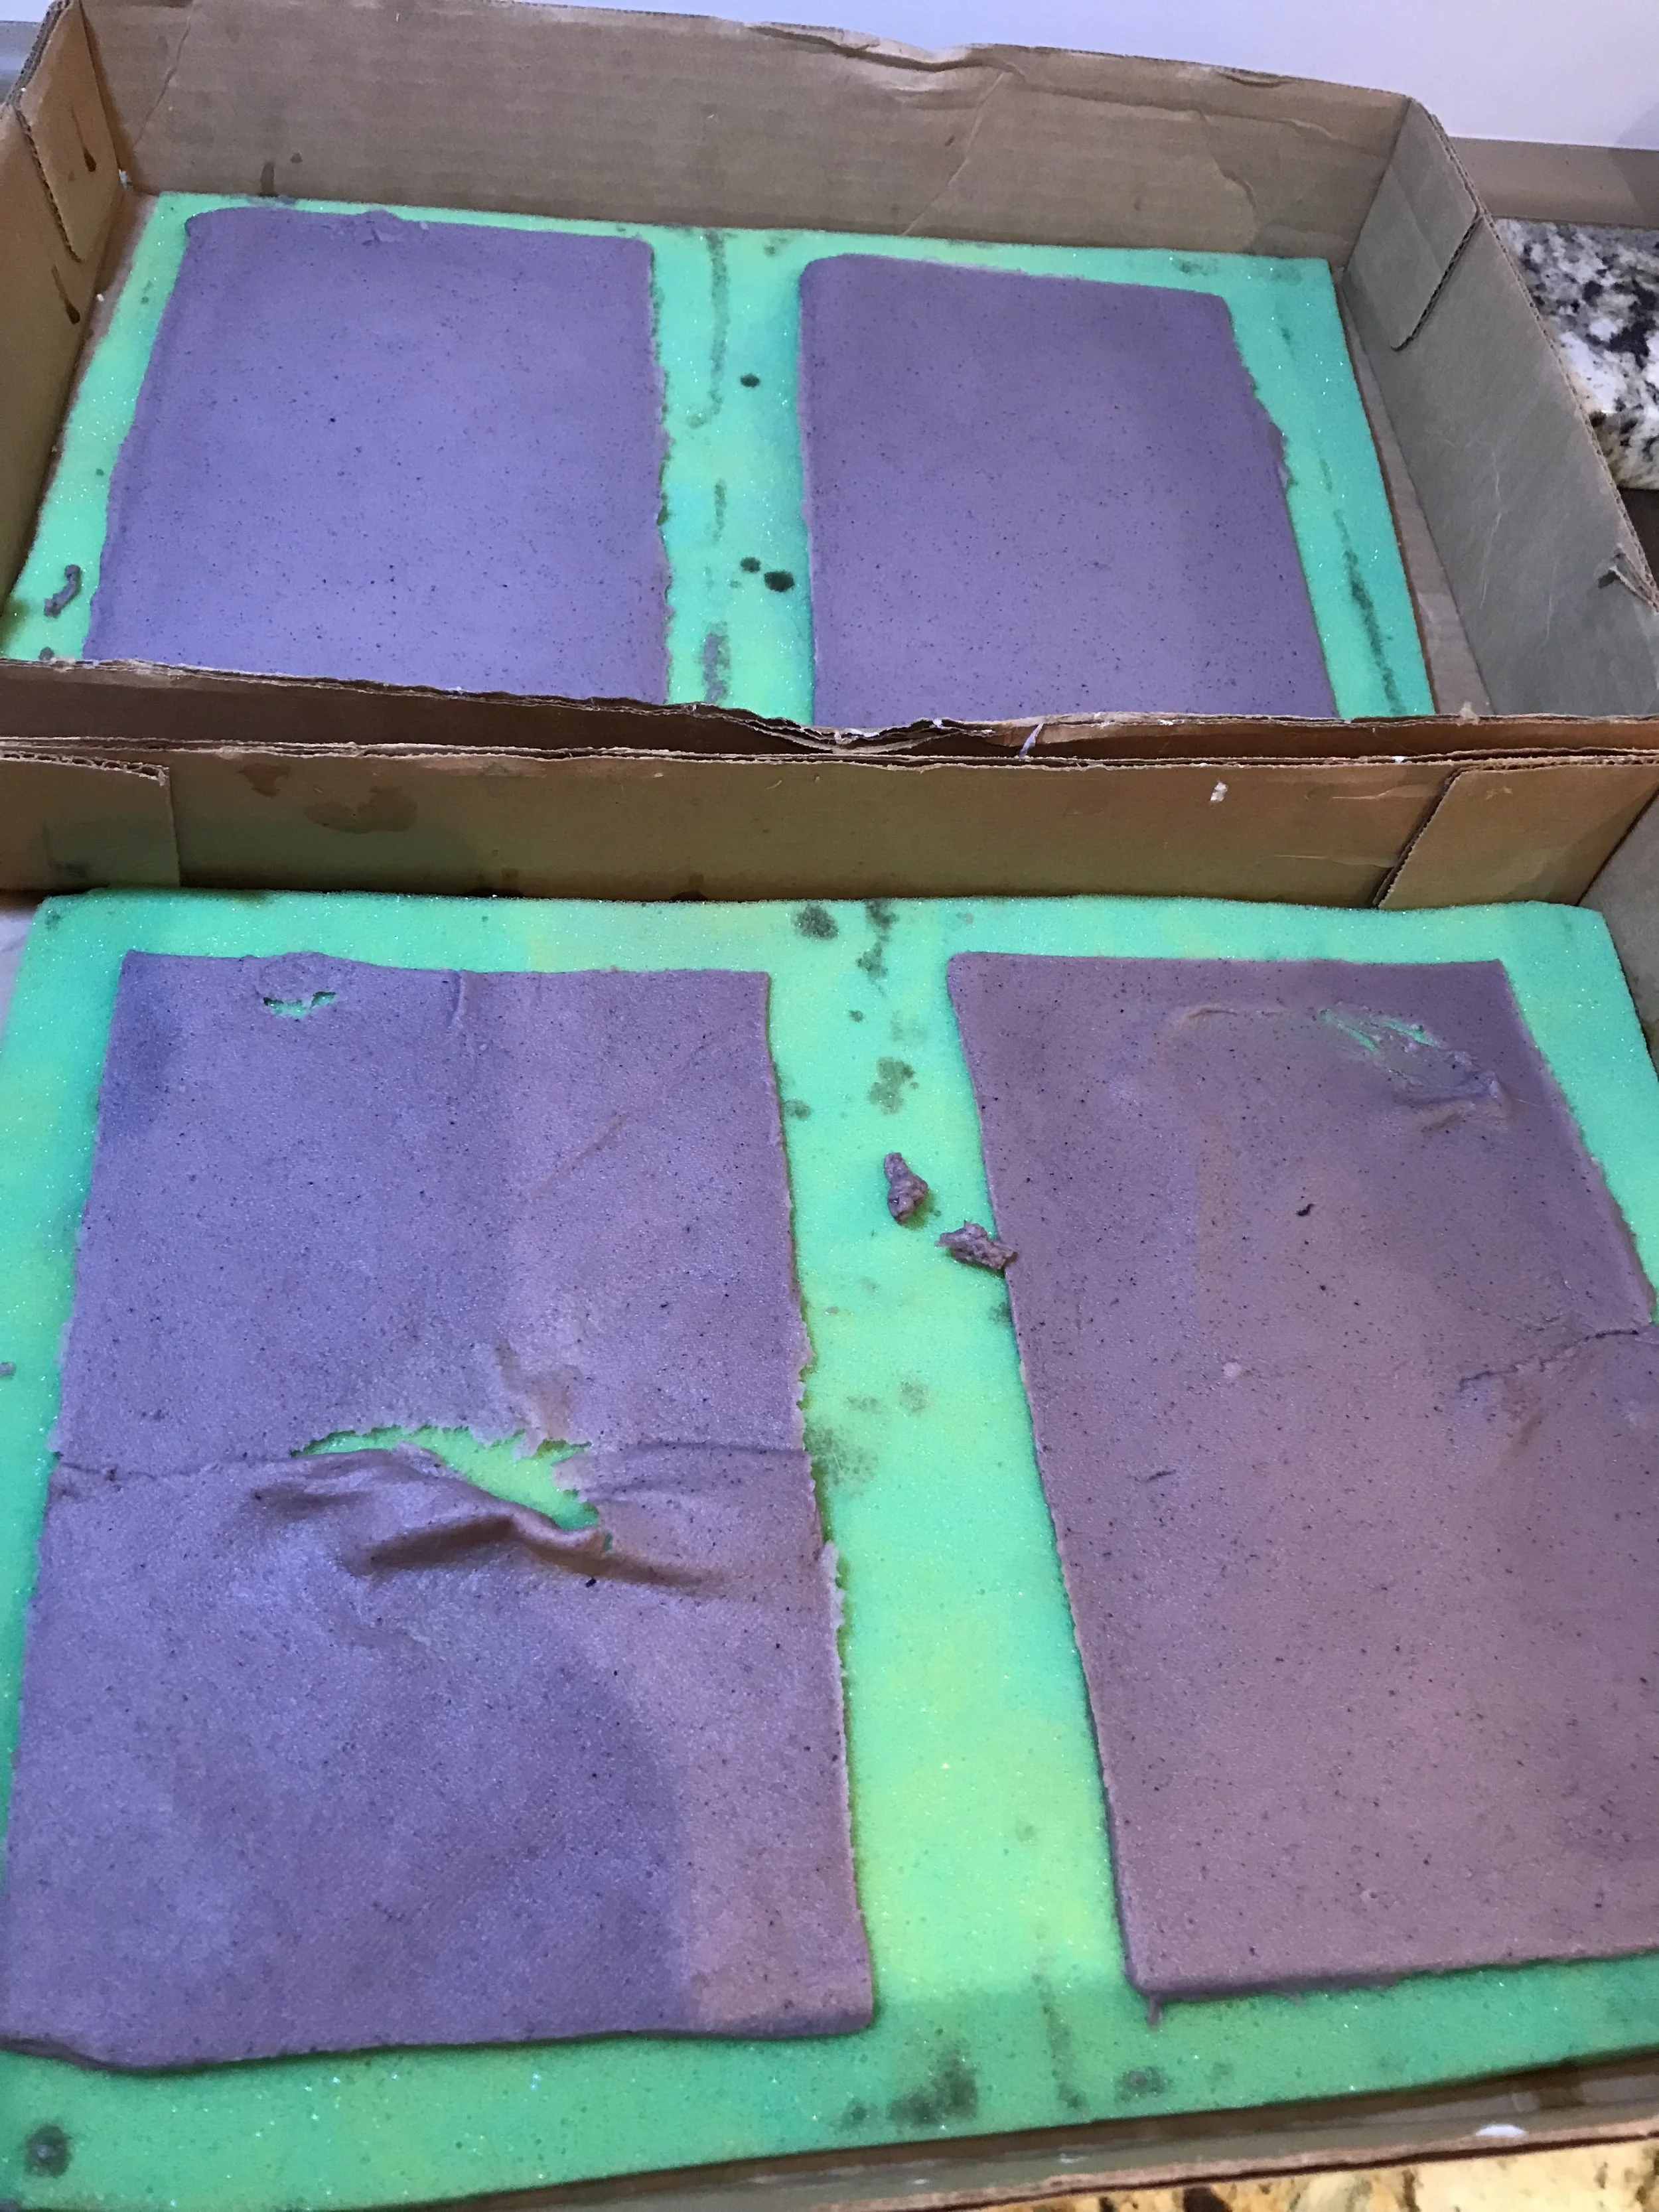
5-Tap the screen and release the pulp from the screen.
6-Shape the pulp to create an image.
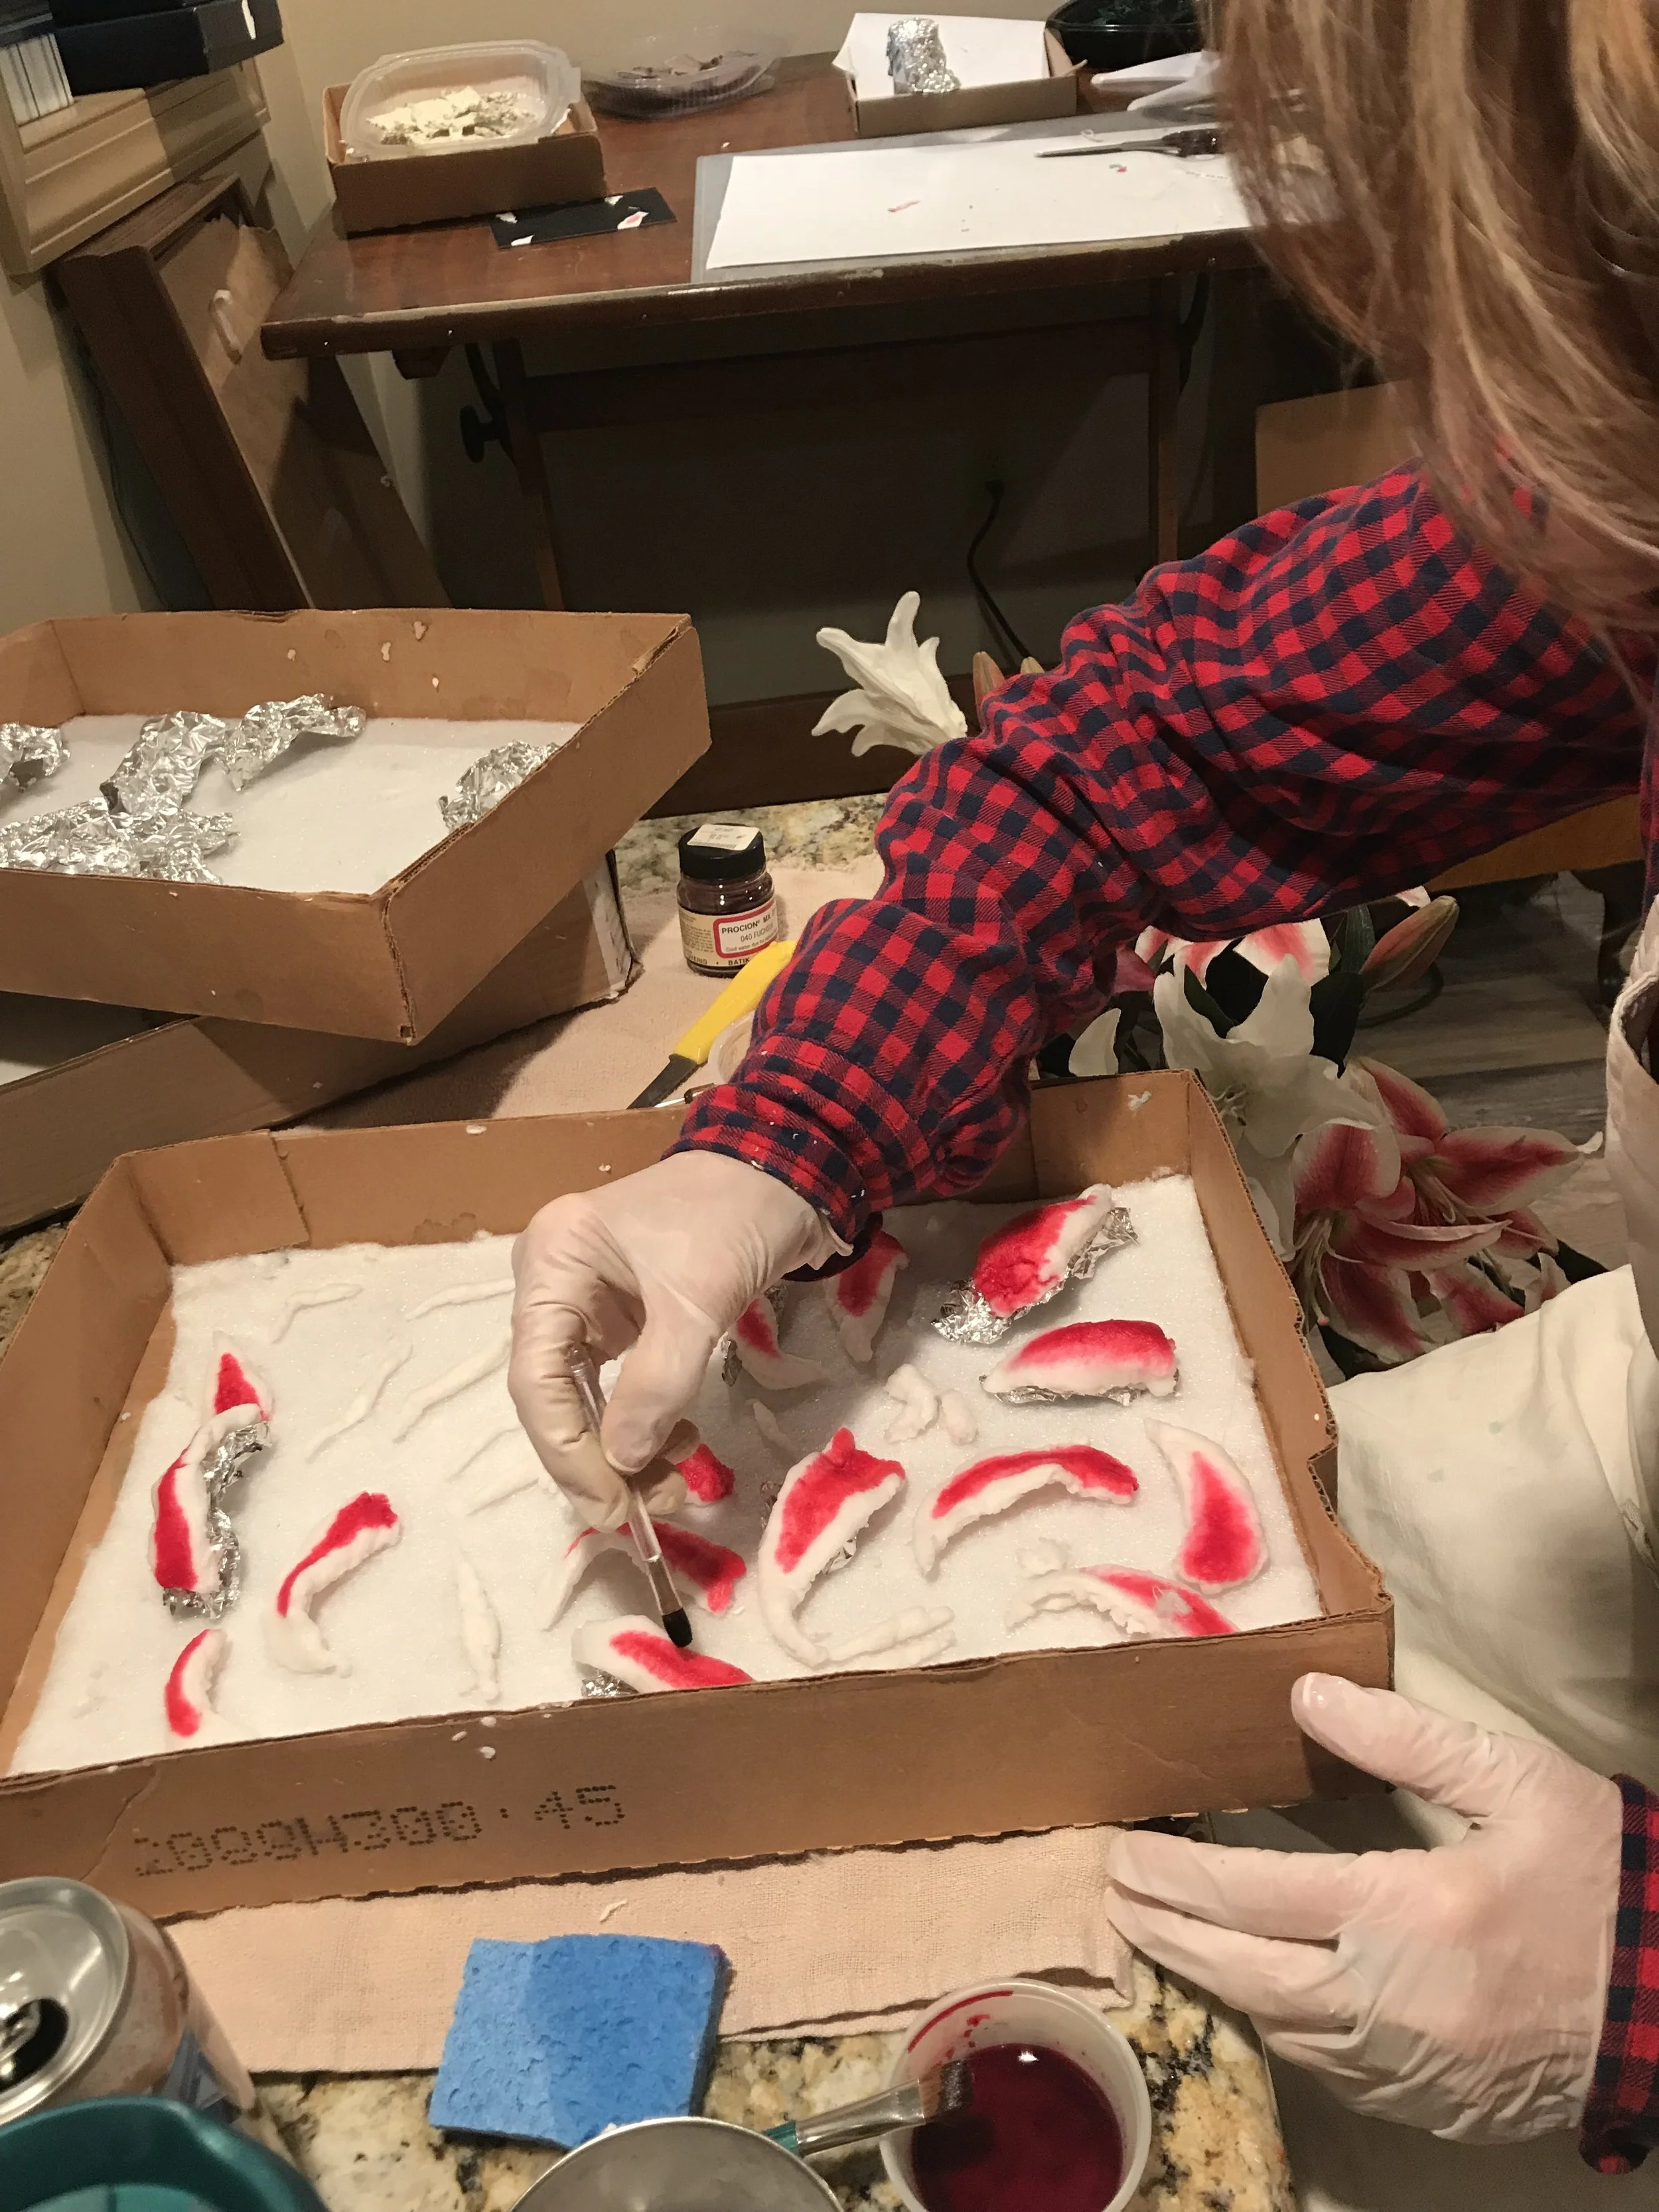
7-There are many different ways to go forward from this stage. It depends on what I’m working on. When working on Pulp you work on one color at a time. To work on another color, everything needs to be bleached. These steps take time but the ending results are amazing!!
Paper Pulp Artistry is a technique that is done in stages. `
-This medium and technique are time consuming, and patience are a must when creating these pieces. Here is a step by step description of the process.
1-Scoop up the white pulp and put it in a blender.
2-Add some water and some powder dye. This will shred the fibers slightly and color the cotton fibers.
3-Pour it into a tub with additional water. Take a screen and dip it into the tub while making a circular motion. This will connect the fibers. using a sponge extract some of the water to help the fibers connect.
4-Flip the Paper pulp onto a felt pad and take a sponge to withdraw more of the water.
5-Tap the screen and release the pulp from the screen.
6-Shape the pulp to create an image.
7-There are many different ways to go forward from this stage. It depends on what I’m working on. When working on Pulp you work on one color at a time. To work on another color, everything needs to be bleached. These steps take time but the ending results are amazing!!